DVWA is for infoSec Enthusiast like us, where you can test your tools and applications in safer and of course legal way.
For setting up DVWA, download XAMP and DVWA .
Note : It is recommended that you set it up and test it in Virtual Environment which is completely isolated (by selecting Host-only network).
1. Download and Install XAMP on your machine. Once installed, start “MySQL” and “Apache” services.
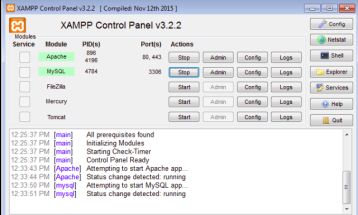
2. Now Download the DVWA from here and Extract the dvwa folder to this location C:\xampp\htdocs\dvwa
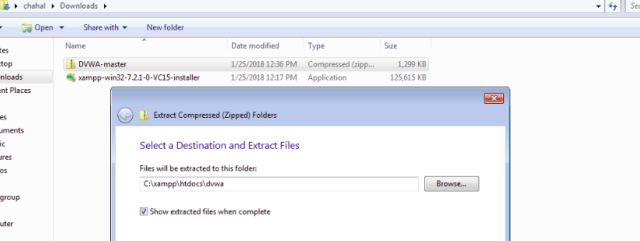
Once done, go to your browser and enter localhost/dvwa
In my case, I got the following error which is quite descriptive in itself. If you get it too, follow the steps below to resolve it.
Error: dvwa system error – config file not found. copy config/config.inc.php.dist to config/config.inc.php and configure to your environment.

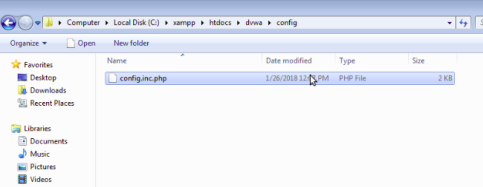
Go to the folder C:\xampp\htdocs\dvwa\config and rename the file to .php extension. In my case, after renaming the file, extension remained the same.

So, to display the file extensions , Go to “Folder Options”.
For viewing this option, go to Start Menu, type “Folder Option” and then click to open it. Select the “View” option on the top of the tap. In the Window, uncheck the box “Hide extensions for known file types” and then click OK.
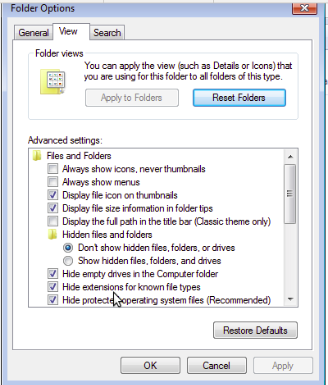
Now, you should be able to see the extension and rename the file to change its extension to php.
MySql Error:
Now, in the browser, if you are seeing DVWA setup page, and if you click “Create/Reset Database”, it fails because php cannot connect to MySql Database.
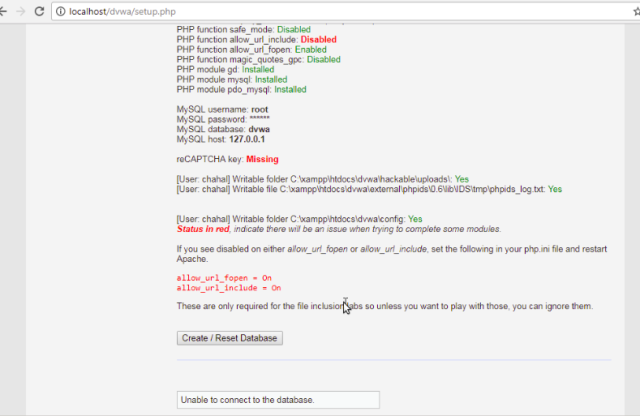
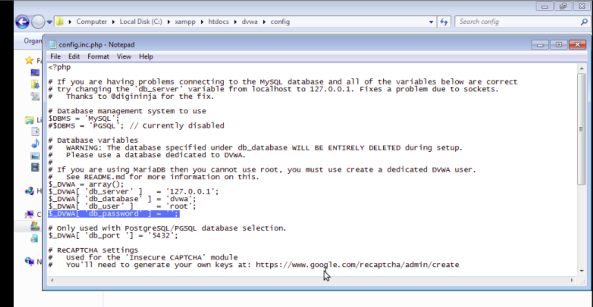
To resovle the error, open the config file with notepad and change the default password and leave it blank and save the file.
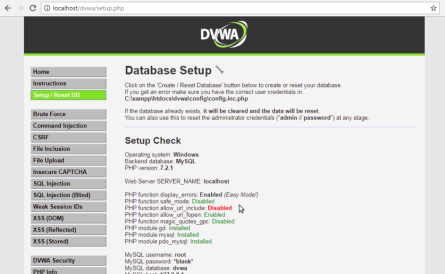
Returning to the broser, click “Create/Reset Database” and you would see everything seems to be alright this time.
Enable Allow URL:
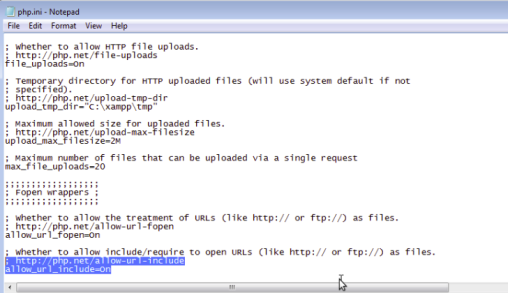
Once you are logged in DVWA, you will find that “allow_url” is not enabled.
To enable it, go to XAMP -> Apache. Right Click “Configure” and click
“PHP”.
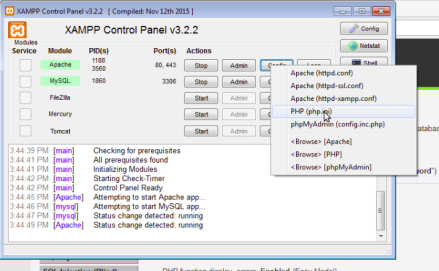
Find “allow_url_include” and make it ON. Save the file. This must resolve the error.
Happy Hacking 🙂


Pingback: Burp Suite for Web Application Security | Gurpinder Chahal